
How to install waterproof cable connector
2026-03-10
In outdoor, underground, and harsh industrial environments, proper IP68 waterproof connector installation is essential for electrical safety and system reliability.
Although an outdoor waterproof connector is designed to resist dust and water, incorrect installation can compromise its sealing performance and reduce the overall lifespan of the system.
This guide explains how to install a waterproof cable connector correctly and how proper installation can help Greenway connectors deliver their full performance.
1. Understand the Structure of an IP68 Waterproof Connector
An IP68 waterproof connector typically includes several key components: Locking Nut、Clamping Claw、PA66 Housing、Waterproof Gasket、Terminal、Sealing Ring

For example, Greenway’s M684-D IP68 waterproof connector uses a durable PA66 nylon housing, which provides excellent UV resistance and weather durability.
Inside the connector, a high-elastic silicone sealing ring forms a long-lasting waterproof barrier once properly tightened.
Each component plays a crucial role in achieving IP68 protection, and Greenway carefully selects materials to ensure consistent performance in demanding environments.
2. Confirm Cable Specifications Before Installation
One of the most common causes of sealing failure is using cables with incorrect diameters.
Before starting the IP68 waterproof connector installation, always:
Check the cable diameter specified by the manufacturer
Ensure the cable falls within the supported range
Avoid cables that are too thin or too thick
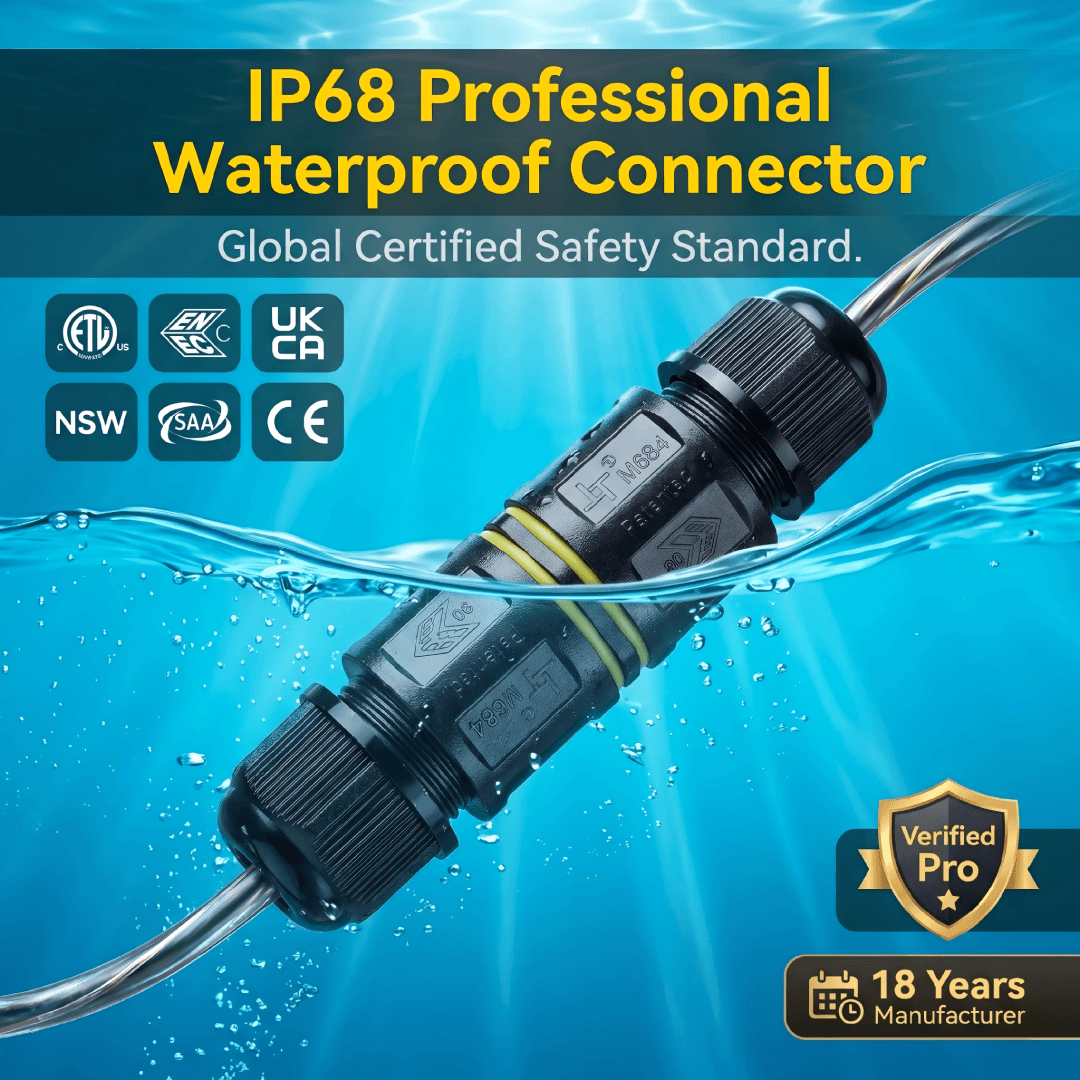
Greenway waterproof connectors support a cable capacity of 0.5–4.0mm², but precise matching ensures the sealing ring compresses correctly, allowing the connector to maintain waterproof performance even under 20 meters of water for up to 150 hours.
3. Strip the Cable Carefully
When preparing the cable:
Remove the outer jacket carefully
Separate the conductors
Strip insulation to the correct length
Avoid damaging copper strands
Damaged conductors may lead to poor electrical contact or overheating.
Using a professional wire stripping tool helps ensure consistent stripping length and proper terminal connection.
4. Insert the Cable Through the Sealing Components
Before connecting the wires, pass the cable through the following parts in order:
Sealing nut
Rubber sealing ring
Many installers forget this step and must redo the entire process.
Greenway connectors are designed with precise threading to ensure smooth tightening and uniform sealing.
5. Connect the Wires
Greenway offers multiple wiring methods to meet different installation needs.
Screwless Quick Connector (Example: M684-D)
1.Open the nut cover at both end sides,take out quick connector
2.Thread the cable through the nut body and pull up the buckle
3.Connect the wires to the 3 core pressed terminal correspondantly press the levers
4.Twist and tighten the cable glands
This design can increase installation efficiency by over 60%, making it ideal for large lighting projects.
Screw Type Connector (Example: M684-B)
1.Open the nut cover at both end sides,take out quick connector
2.Thread the cable through the nut
3.The wire is inserted into the inner core of the connection and fixed by a screw
4.Twist and tighten the cable glands
The screw terminals feature anti-loosening treatment, ensuring reliable connections in vibration environments.
Male Female Plug Connector (Example: M684-E)
1.Open the nut cover at both end sides,take out quick connector
2.Thread the cable through the nut body and pull up the buckle
3.Connect the wires to the 3 core pressed terminal correspondantly press the levers
4.Twist and tighten the cable glands
After initial wiring, the male-female design allows plug-and-play installation, which is convenient for equipment maintenance and replacement.
Regardless of the connection method, always ensure that no copper conductor is exposed.
6. Tighten the Sealing Nut Properly
After wiring:
Push the sealing components into place
Tighten the sealing nut evenly
Ensure the sealing ring compresses properly
The compression level of the sealing ring directly determines waterproof performance.
Greenway uses high-elastic silicone sealing rings that create a reliable circular seal under proper torque.
Tighten until firm resistance is felt, but avoid excessive force.
7. Perform Final Inspection
Before powering the system, confirm that:
The connector housing is fully closed
Locking clips are secured
Sealing rings are correctly positioned
Electrical conductivity is normal
No visible gaps remain
For critical projects, water immersion testing is recommended.
All Greenway outdoor waterproof connectors undergo strict air-tightness testing to ensure reliable performance.
8. Common Installation Mistakes
Common mistakes during waterproof connector installation include:
Incorrect cable diameter
Forgetting to install the sealing nut
Over-tightening or under-tightening
Reusing damaged sealing rings
Skipping final inspection
Avoiding these mistakes ensures long-term performance and system safety.
9. Typical Applications
Greenway IP68 waterproof cable connectors are widely used in:
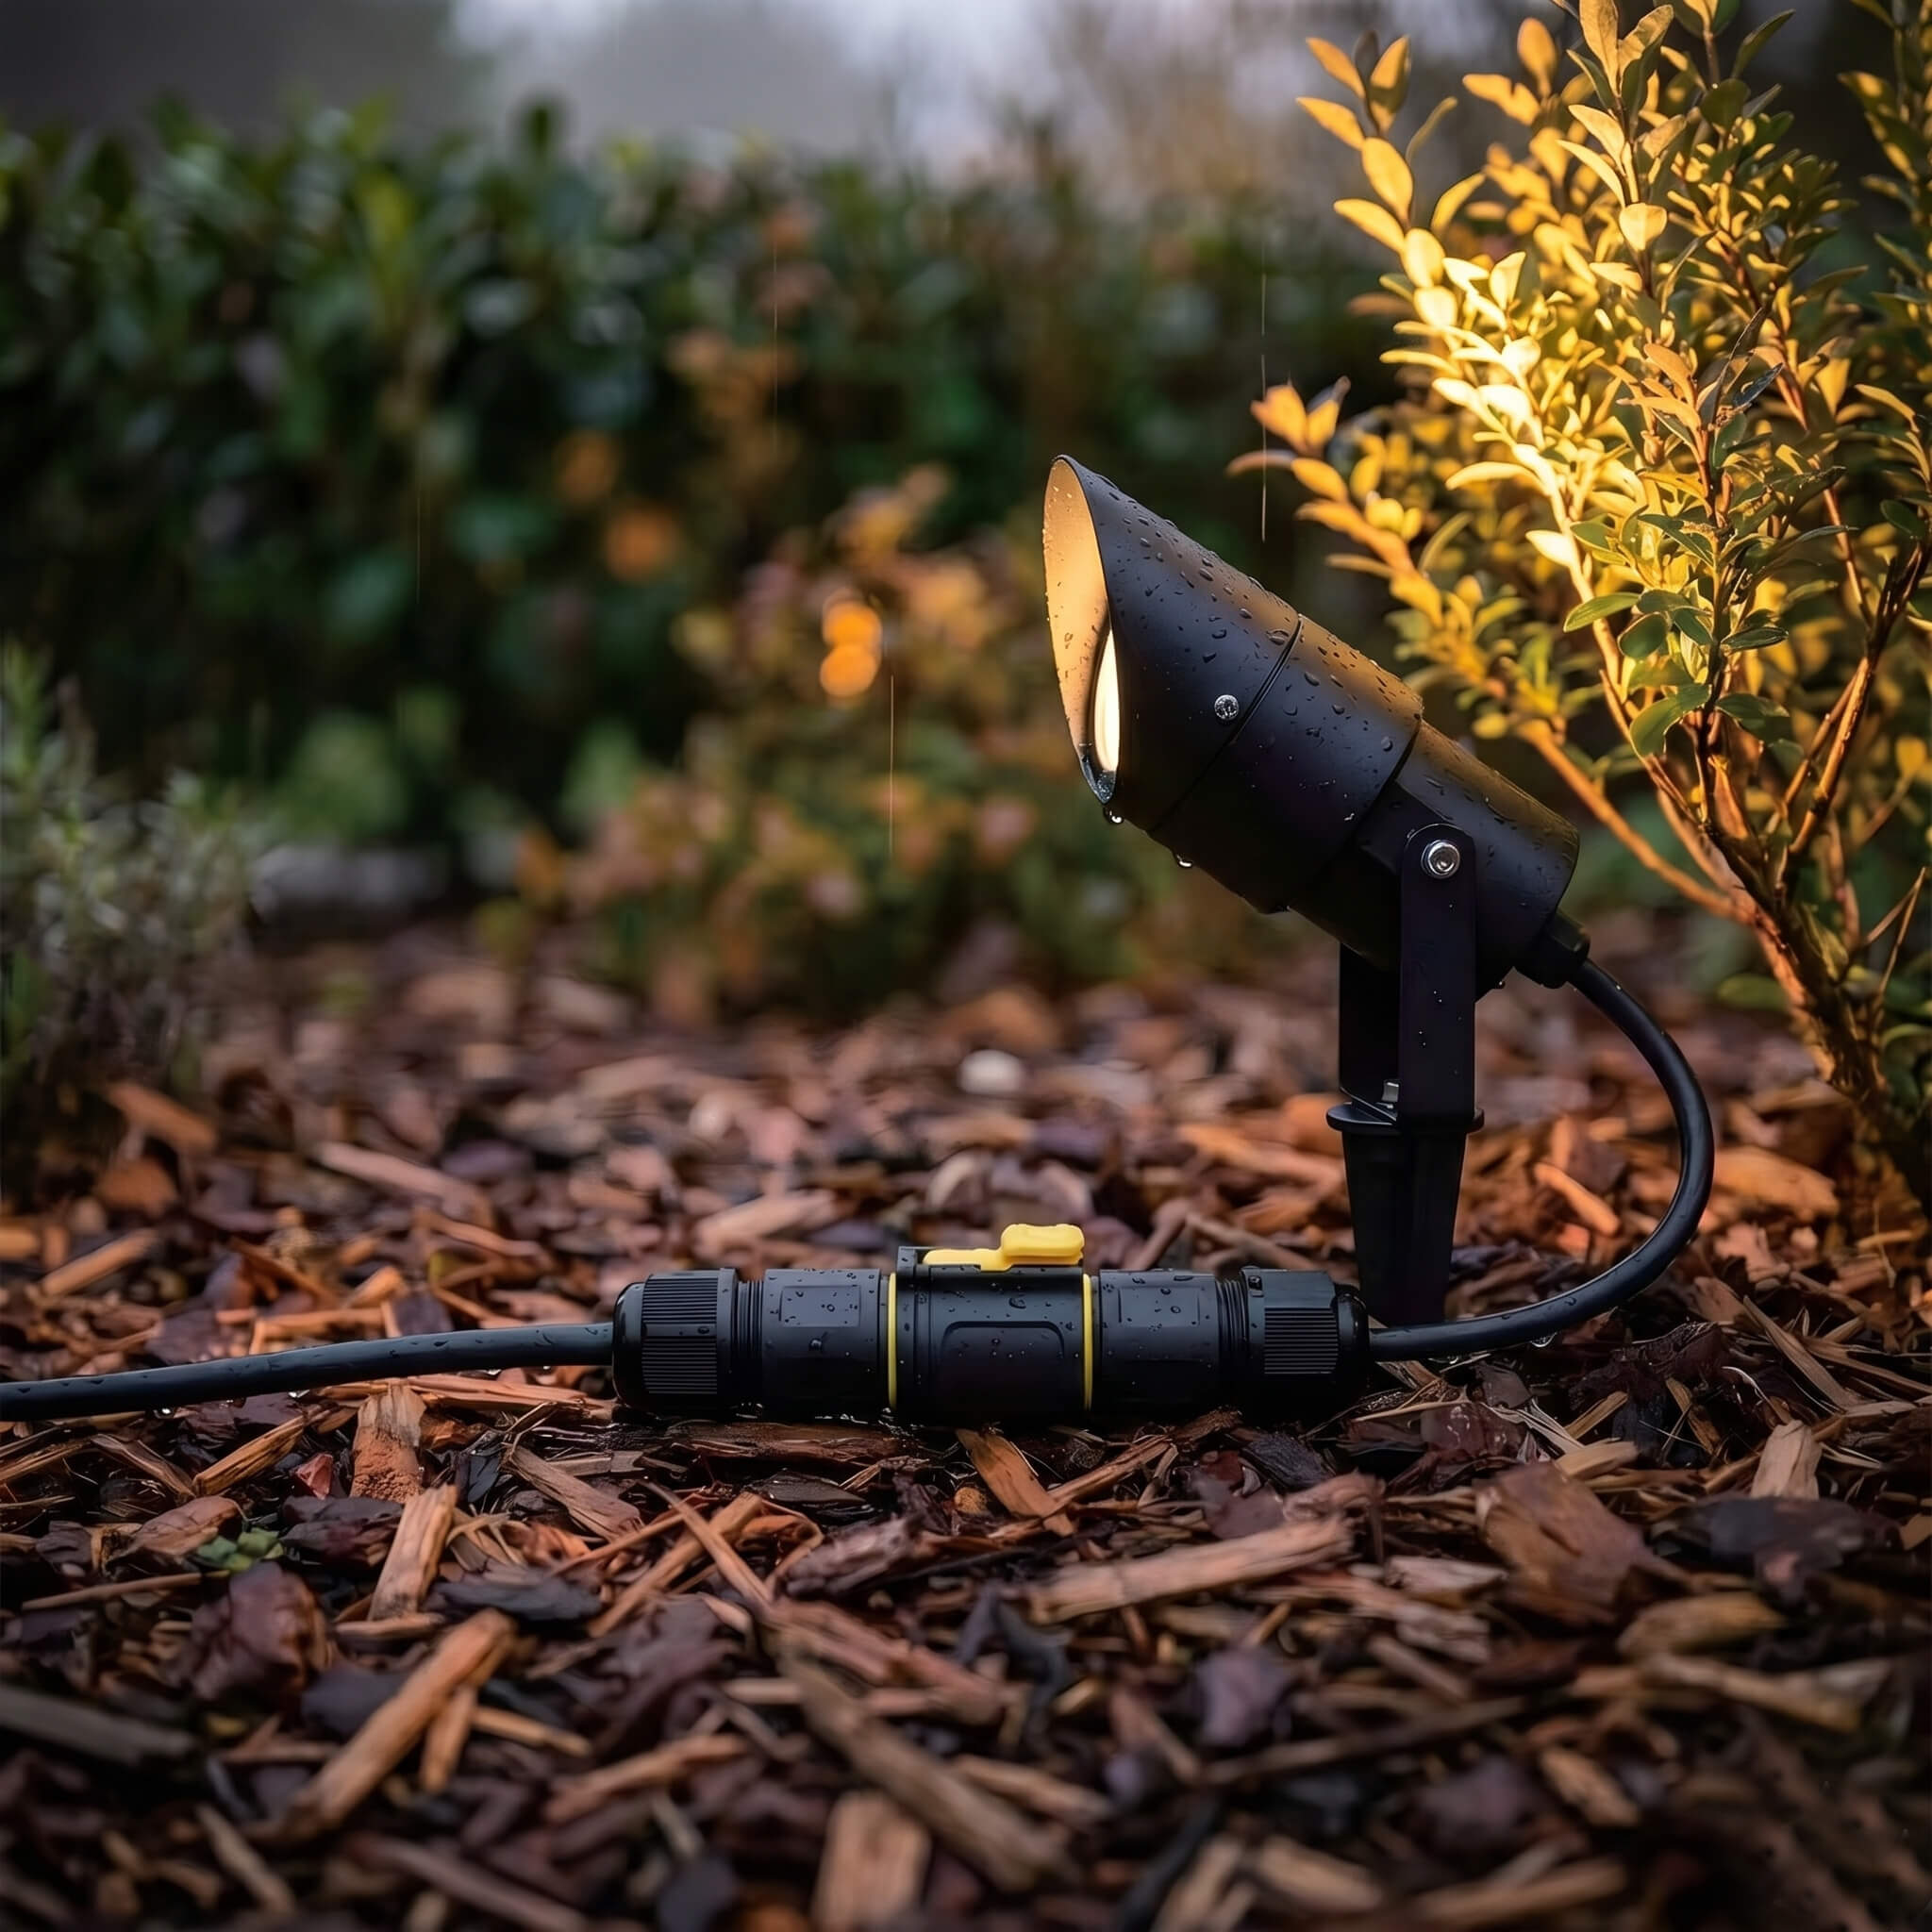
Landscape lighting systems
Garden lighting projects
Underground cable connections
Marine environments
Outdoor industrial equipment
By choosing Greenway connectors and following correct IP68 waterproof connector installation procedures, you ensure reliable protection even in demanding environments.
FAQ – Waterproof Connector Installation
1. Can IP68 waterproof connectors be used underground?
Yes. IP68 connectors are designed for underground cable connections and wet environments.
2. What cable size fits waterproof connectors?
Most connectors support 0.5–4mm² cables, depending on the model.
3. Can waterproof connectors be reused?
Yes, but sealing rings should be checked for damage before reuse.
How to Choose a Reliable Connectors Factory in China
What Are the Risks of Using Inferior Surge Protectors? (Case Study Part 1)
Related Article
How the Right LED Connector System Improves Production Efficiency, Product Reliability, and Manufacturing ROI
OEM LED Connector Solutions for Lighting Manufacturers
A Practical Guide for Global Buyers Seeking a China Junction Box Factory and Custom Connector Manufacturing Service
How to Choose a Reliable Connectors Factory in China

